Before you start: what you need
The entire job needs five things, and you almost certainly own four of them:
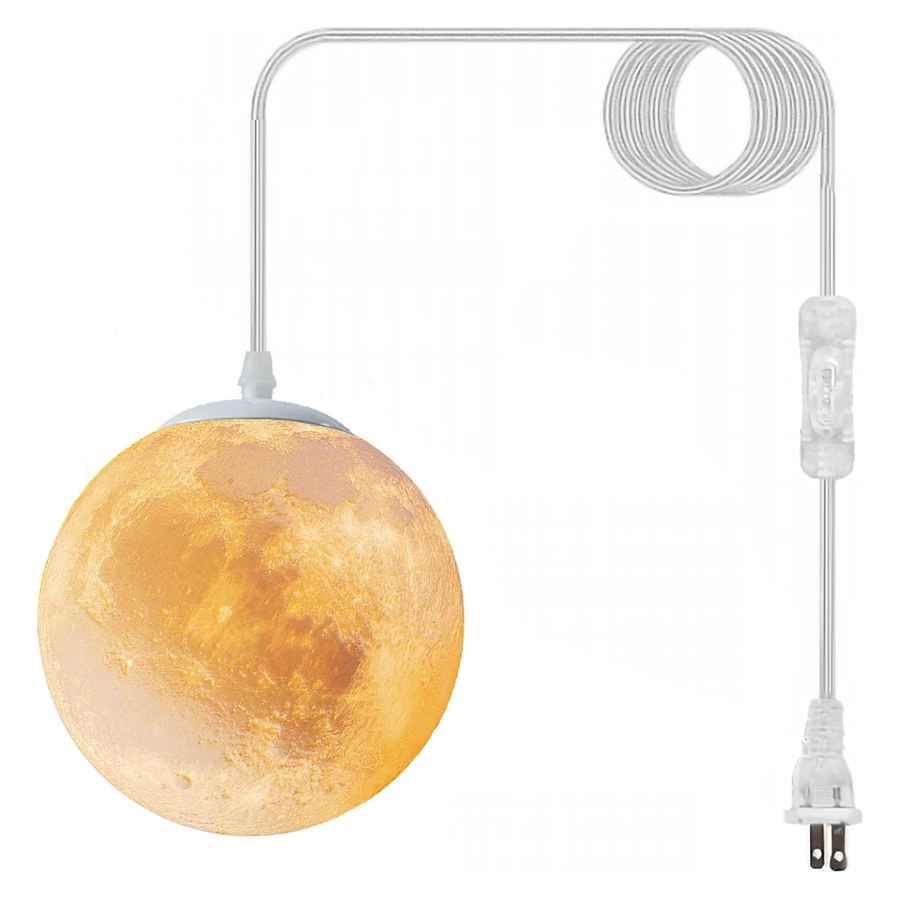
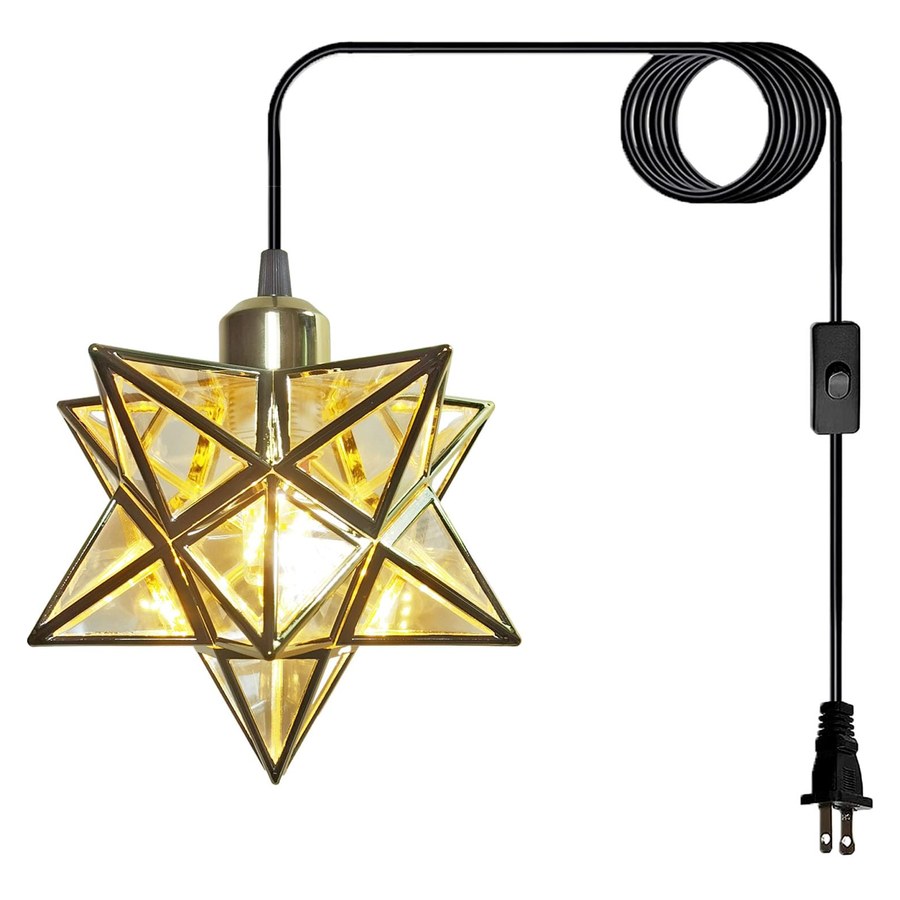
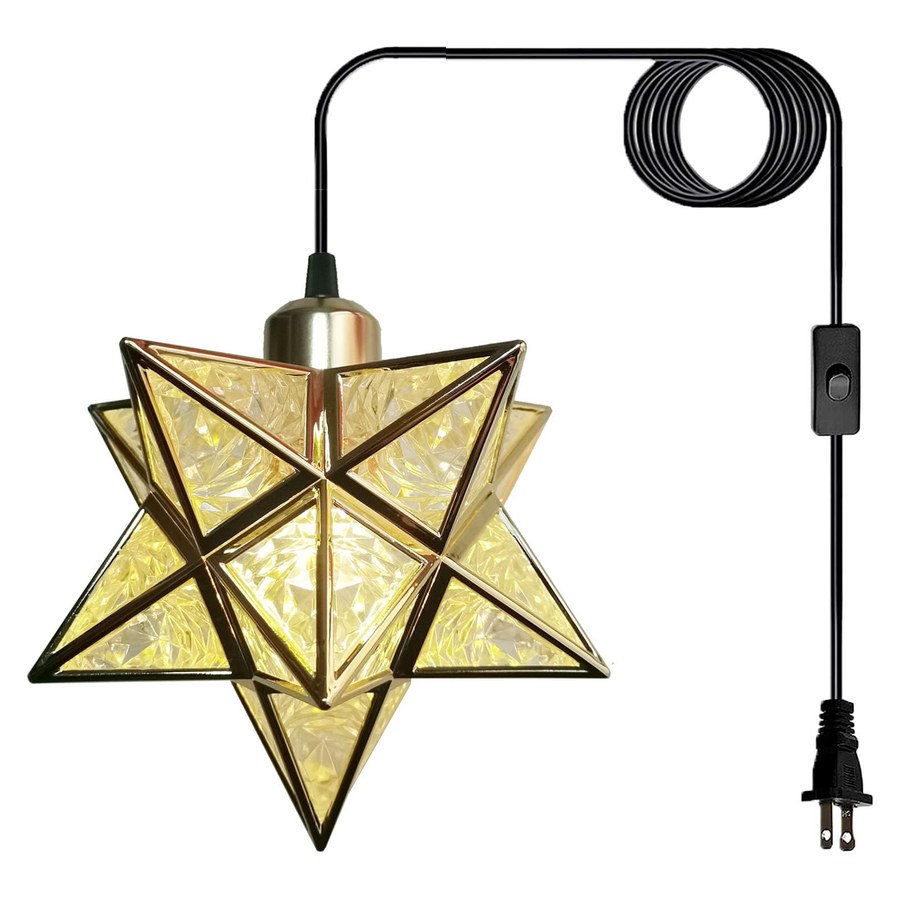
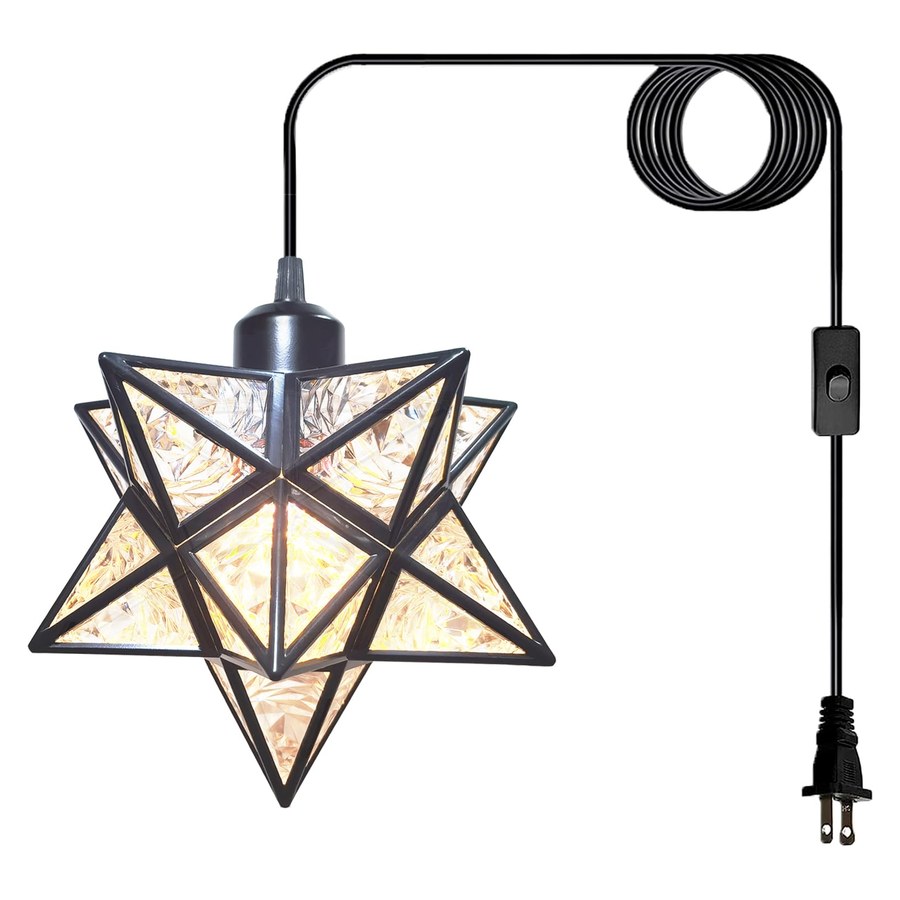
- A plug-in pendant — ours ship with the E26 LED bulb and the in-line switch already fitted, so there is nothing to assemble.
- A ceiling hook rated for at least three times the weight of the fixture. Our plastic-framed stars weigh around 1.5 lb and the moon about the same, so a 5 lb hook has a wide margin.
- Adhesive cord clips, six to twelve depending on how far the outlet is. Buy more than you think you need.
- A pencil and a tape measure.
- Rubbing alcohol and a clean cloth — the step everybody skips, and the reason adhesive hooks fall down.
Optional: a stepladder you are comfortable standing on one-handed, and a stud finder if you are screwing rather than sticking.
Step 1 — Pick the hanging point
Start with where you want the light to be, and only then work out how to fix it. If you start from where the ceiling is easy to drill, you end up with a pendant in the wrong place that you then live with for years.
- Over a dining table or island: centred on the table, not centred on the room. If the table is off-centre in the room — they usually are — the light goes with the table.
- In a bedroom: over the spot you read in, or offset to one side of the bed rather than directly over the pillow.
- In a hallway or entry: over the part of the floor people stand on, which is normally just inside the door.
- In a corner: yes, this works, and it is one of the best uses of a plug-in pendant — two walls within a foot mean the cord has almost nowhere to travel.
Then check the distance to the nearest outlet along the route — up to the ceiling, along it, down the wall. That is routinely one and a half to two times the straight-line distance, and it is the number that decides whether the position works. Our cords are 16.4 ft on the moon and 16.5 ft on most stars.
Step 2 — Find something solid to hang from
Three cases, in order of how good they are:
A joist
Best option by a distance. Tap across the ceiling or use a stud finder, mark it, and put a screw hook into it. A joist will hold far more than any pendant weighs, and it is the only choice I would use for the brass star, whose panels are glass.
A hollow-wall anchor or toggle
Fine for the lightweight plastic frames — about 1.5 lb — provided you use a real anchor and not a screw into drywall. Drill the rated hole size, seat the anchor properly, and test it by hanging something heavier for an hour before the pendant goes up.
A removable adhesive hook
The rental answer, and genuinely strong on the right surface. Three conditions: the ceiling must be smooth and painted (not popcorn, not textured, not painted in the last two weeks); you must clean it with alcohol first and let it dry; and you must respect the cure time on the packet, usually 24 hours. Test it by hanging a bottle of water from it for a day.
Full detail on the rental case is in the renter's guide.
Step 3 — Decide the drop height
Two rules, and they are not the same rule:
| Situation | Bottom of shade should sit | Why |
|---|---|---|
| Over a dining table | 30–36 in above the tabletop | Low enough to light faces and the table, high enough to see over when seated. |
| Over a kitchen island | 30–36 in above the counter | Same logic. Higher if the island is a workspace you stand at. |
| Over a walkway or hallway | At least 6 ft 6 in above the floor | Head clearance. This is a hard number, not a preference. |
| Over a stair landing | 6 ft 6 in above the highest step | Measured from the step, not the floor below. |
| Beside a bed | Shoulder height when sitting up, roughly 24–30 in above the mattress | You want it out of sightline from the pillow. |
With an 8 ft ceiling and a standard 30 in table, there is not much room to play with — the shade ends up close to the ceiling and still looks right. Do not fight it by hanging it higher than the table rule; hang it lower and accept the intimacy, which is the point.
Step 4 — Set the hook
The hook is the whole installation. Get this wrong and nothing else matters.
- Mark the point with a pencil. Check it from the doorway and from the seat you will actually use, not from directly underneath.
- Wipe the ceiling with alcohol and a clean cloth. Kitchen ceilings especially — the invisible film of cooking residue is what defeats adhesives.
- Let it dry completely, a minute or two.
- Press the hook on firmly and hold for the full time on the packet, usually 30 seconds.
- Wait the cure time before hanging anything. Usually 24 hours. This is the single most-failed step in the whole process, and it is why hooks fall down at 2 a.m.
Step 5 — Route the cord
The pendant looks installed or improvised based entirely on this step. The rules:
- Up, along, down. From the shade to the hook, along the ceiling to the nearest wall, down the wall to the outlet. Three straight runs, two corners.
- Clip every 12–18 in, and at both corners. Unclipped cord sags within a week and reads as temporary forever.
- Follow an existing line where you can — the ceiling/wall junction, the edge of a door frame, the shadow line beside a cabinet. A cord that runs parallel to a real architectural line disappears.
- Never across the floor, never under a rug, never across a doorway, never near a cooktop or a sink.
- Do not use an extension cord. If the run does not reach, move the hook nearer the wall and let the cord swag the last couple of feet — a swag looks deliberate, an extension cord across a room does not.
Against a white ceiling, a transparent cord at ceiling height is very hard to see from standing height. That is the whole trick.
Step 6 — Plug in and test the settings
Plug into the wall, or into a surge protector that is not already carrying a heater and a phone charger. Then cycle the in-line switch: ours run bright → soft → warm neutral, and you choose the mood from the cord rather than the ceiling.
- Bright for task lighting — over an island or a table where you are working.
- Soft for general evening use.
- Warm neutral for the last hour before bed, and for nurseries and kids' rooms.
Stand in the doorway and look at it. If the shade is not level, adjust the cord at the hook rather than twisting the shade. If the light is in your eyes from where you normally sit, drop it slightly — a lower pendant glares less than a high one, which surprises people.
The five mistakes people make
- Skipping the alcohol wipe and the cure time. The hook falls, usually in the night, usually onto something you like.
- Measuring the straight-line distance to the outlet instead of the route. The cord is short by four feet and the whole plan changes on the ladder.
- Hanging it centred in the room instead of centred on the thing it is lighting.
- Leaving the cord unclipped because it looked fine on day one.
- Using a bright setting at night and concluding the product is harsh. Cycle the switch — warm neutral is a different light.
Tricky ceilings: popcorn, plaster, vaulted
Popcorn or textured: adhesive hooks will not hold. Use a screw hook into a joist, or a purpose-made popcorn-ceiling hook with a wide flat base. Do not try to scrape a patch flat — you will create a visible repair.
Old plaster and lath: find a joist. Plaster is harder to patch than drywall and anchors behave unpredictably in it.
Vaulted or sloped: the fixture hangs plumb regardless of the ceiling angle, so a hook in a sloped ceiling works fine — you just need a hook rated for the shear, and the cord run changes. A swag down to a wall is usually the cleanest answer.
No outlet anywhere near: reconsider the position rather than the cord. A pendant three feet nearer the wall is invisible; a cord across the room is not.
Taking it down
Unplug it first, then lift the shade off the hook — do not let it hang by the cord. Peel the cord clips off slowly, pulling along the ceiling rather than away from it. To remove an adhesive hook, slide dental floss behind the pad and saw gently; pulling it straight off is what takes paint with it.
Coil the cord loosely rather than wrapping it tight around the frame, and keep the box — the points on a star are the fragile part in a move.
Free shipping within the US, a 30-day return window and a one-year replacement warranty. Stuck on which hook to use for your ceiling? Email a photo to lightsolutionss@outlook.com and we will tell you straight.